How To Gua Sha
The Gua Sha facial technique actually dates back centuries ago, based on an ancient healing technique that was first referred to in a classical Chinese medicine text called the Shan Han Lun dated 220 CE. Originally, practitioners wanted to obtain 'Sha'—otherwise known as a redness that encourages the skin to heal itself.
It’s no surprise that the technique has reached mainstream skincare culture; regular use of a gua sha demonstrates impressive results. Improved circulation and collagen production, decreased inflammation and dark circles, as well as the smoothing of fine lines are all part of the benefits you can reap with the technique.
Used on the jawline, forehead, and cheekbone area, gua sha can help release tight facial muscles and give the temporary appearance of a more sculpted face. It doesn’t target fat, but it can definitely help ease puffiness in the short term.
Curious about how to get started and gua sha at home? Read on below!
HOW SHOULD YOU PREP YOUR SKIN?
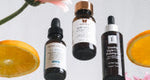
You should always cleanse the skin before using a gua sha. Follow up with your regular skincare routine, like your serum(s), moisturizer, eye cream, and ideally, a face oil. The latter is essential for creating a nice slip with your tool, avoiding irritation or tissue damage.
HOW OFTEN SHOULD YOU GUA SHA?
As you start to familiarize yourself with it and get more comfortable, you can aim to use a gua sha at least two to three times per week. The frequency of use will, of course, depend on your skin type and sensitivity tolerance. Starting once a week until you get the hang of it is recommended.
HOW CAN YOU USE YOUR TOOL?
There are so many ingenious ways to use your gua sha stones. As long as you are gentle, you’re on the right track!
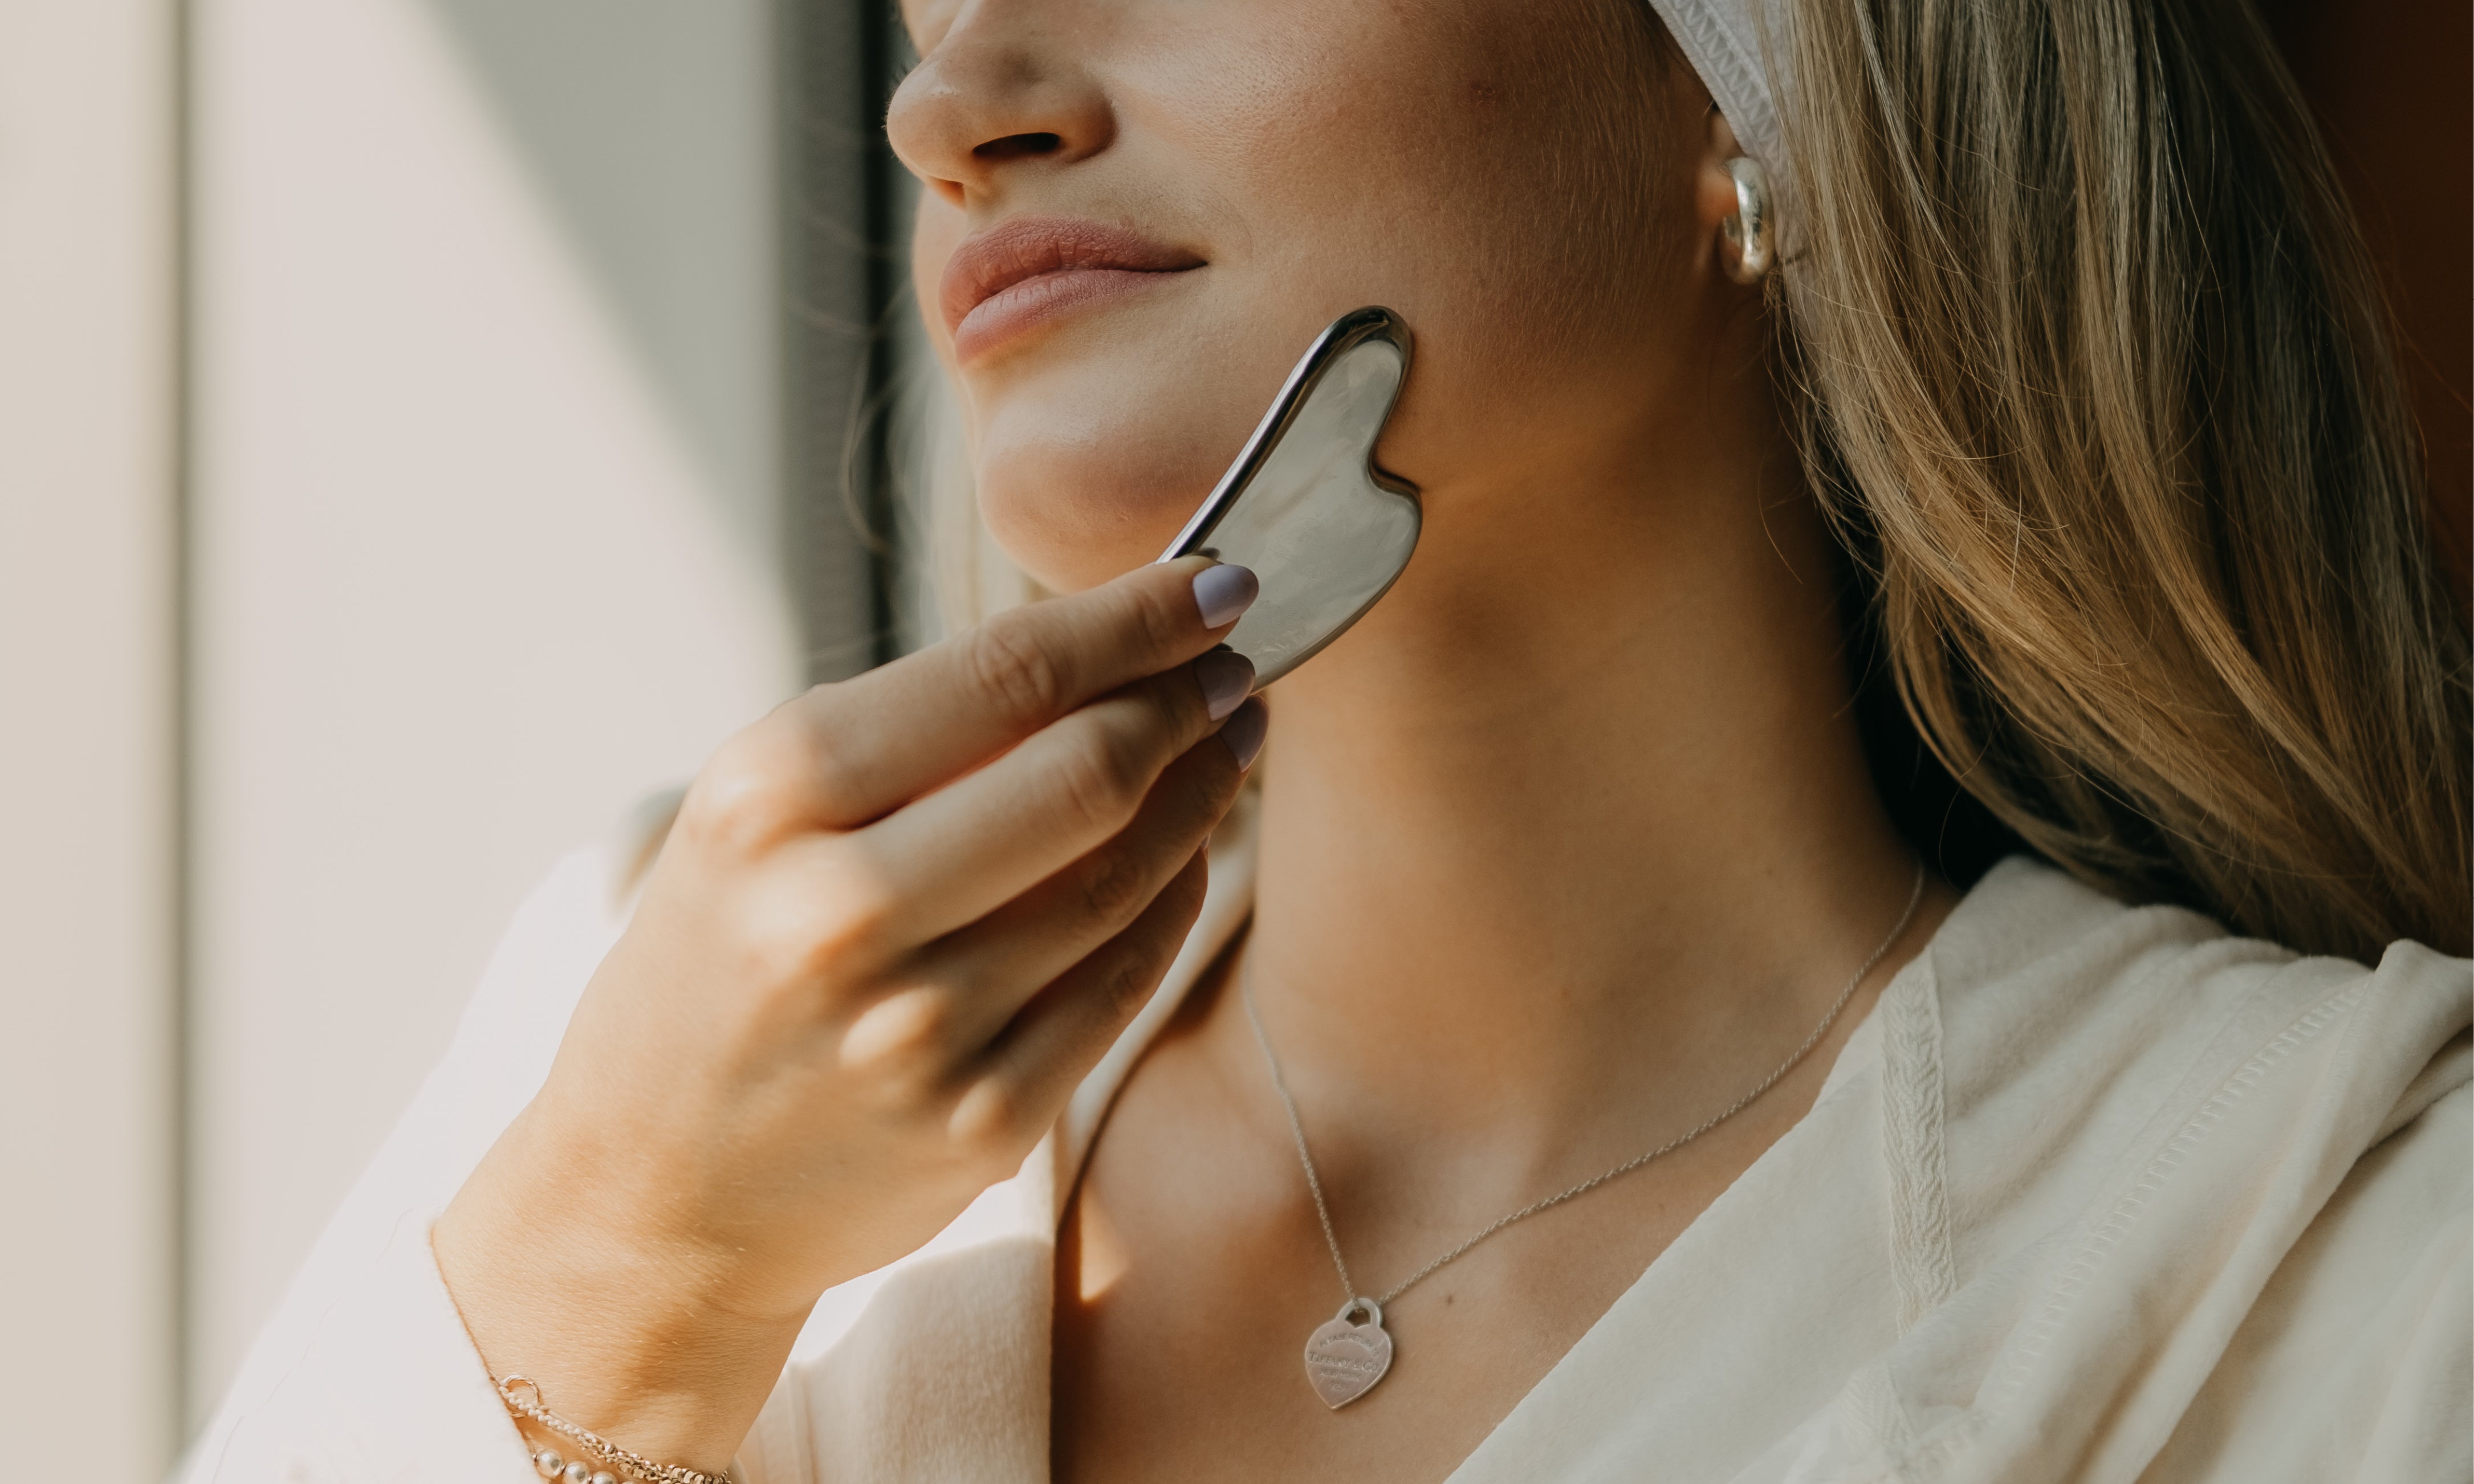
By holding your tool at a 30 to 45-degree angle, very gently pull/scrape it across your skin. As a rule, all movements should be upward to follow lymphatic flow. Repeat each movement three to five times before moving onto the next area of your skin.
- Jawline and chin: Glide your tool upwards from the center of the chin out to the earlobe to contour the jaw.
- Forehead: Start at the center of the forehead and divide your forehead into three sections and glide your tool outwards.
- Cheek: Start at the nose and work upwards in a sweeping motion along the cheeks and cheekbones, moving outwards.
- Under Eye: Start in the inner corner of the eye and glide outwards to the temple.
- Brows: Glide upwards along the brow bone - going from the inside out.
- Lips: Glide over your lips back and forth about five times for a plumping effect.
- Neck: Section your neck into four areas and scrape each section from the bottom up.
FINAL NOTES
Gua sha is not recommended for those with rashes, sunburns, or blood coagulation issues. Your skin may look a little flushed after a treatment, but it will go away momentarily. If your gua sha technique hurts, you are likely doing it wrong!
Most importantly, before purchasing a gua sha tool, it’s important to consider its quality and material. Higher quality stones last longer, provide a much more therapeutic effect, and are easier to sanitize. Surgical-grade stainless steel––such as Mount Lai’s Stainless Steel Gua Sha Facial Lifting Tool––is great since it can be properly sterilized, but regardless of whether your tool is made from jade or rose quartz, the most important thing is the motion and how you care for it.
Check out a few of our favorites below!
MOUNT LAI THE JADE GUA SHA TOOL - $38

MOUNT LAI THE ROSE QUARTZ TRIO SOOTHING FACIAL SET - $89

MOUNT LAI THE BLACK OBSIDIAN GUA SHA FACIAL LIFTING TOOL - $40

Are you ready to gua sha?
Until next time,
The BSE team


Leave a comment
This site is protected by hCaptcha and the hCaptcha Privacy Policy and Terms of Service apply.